Fun with Finals

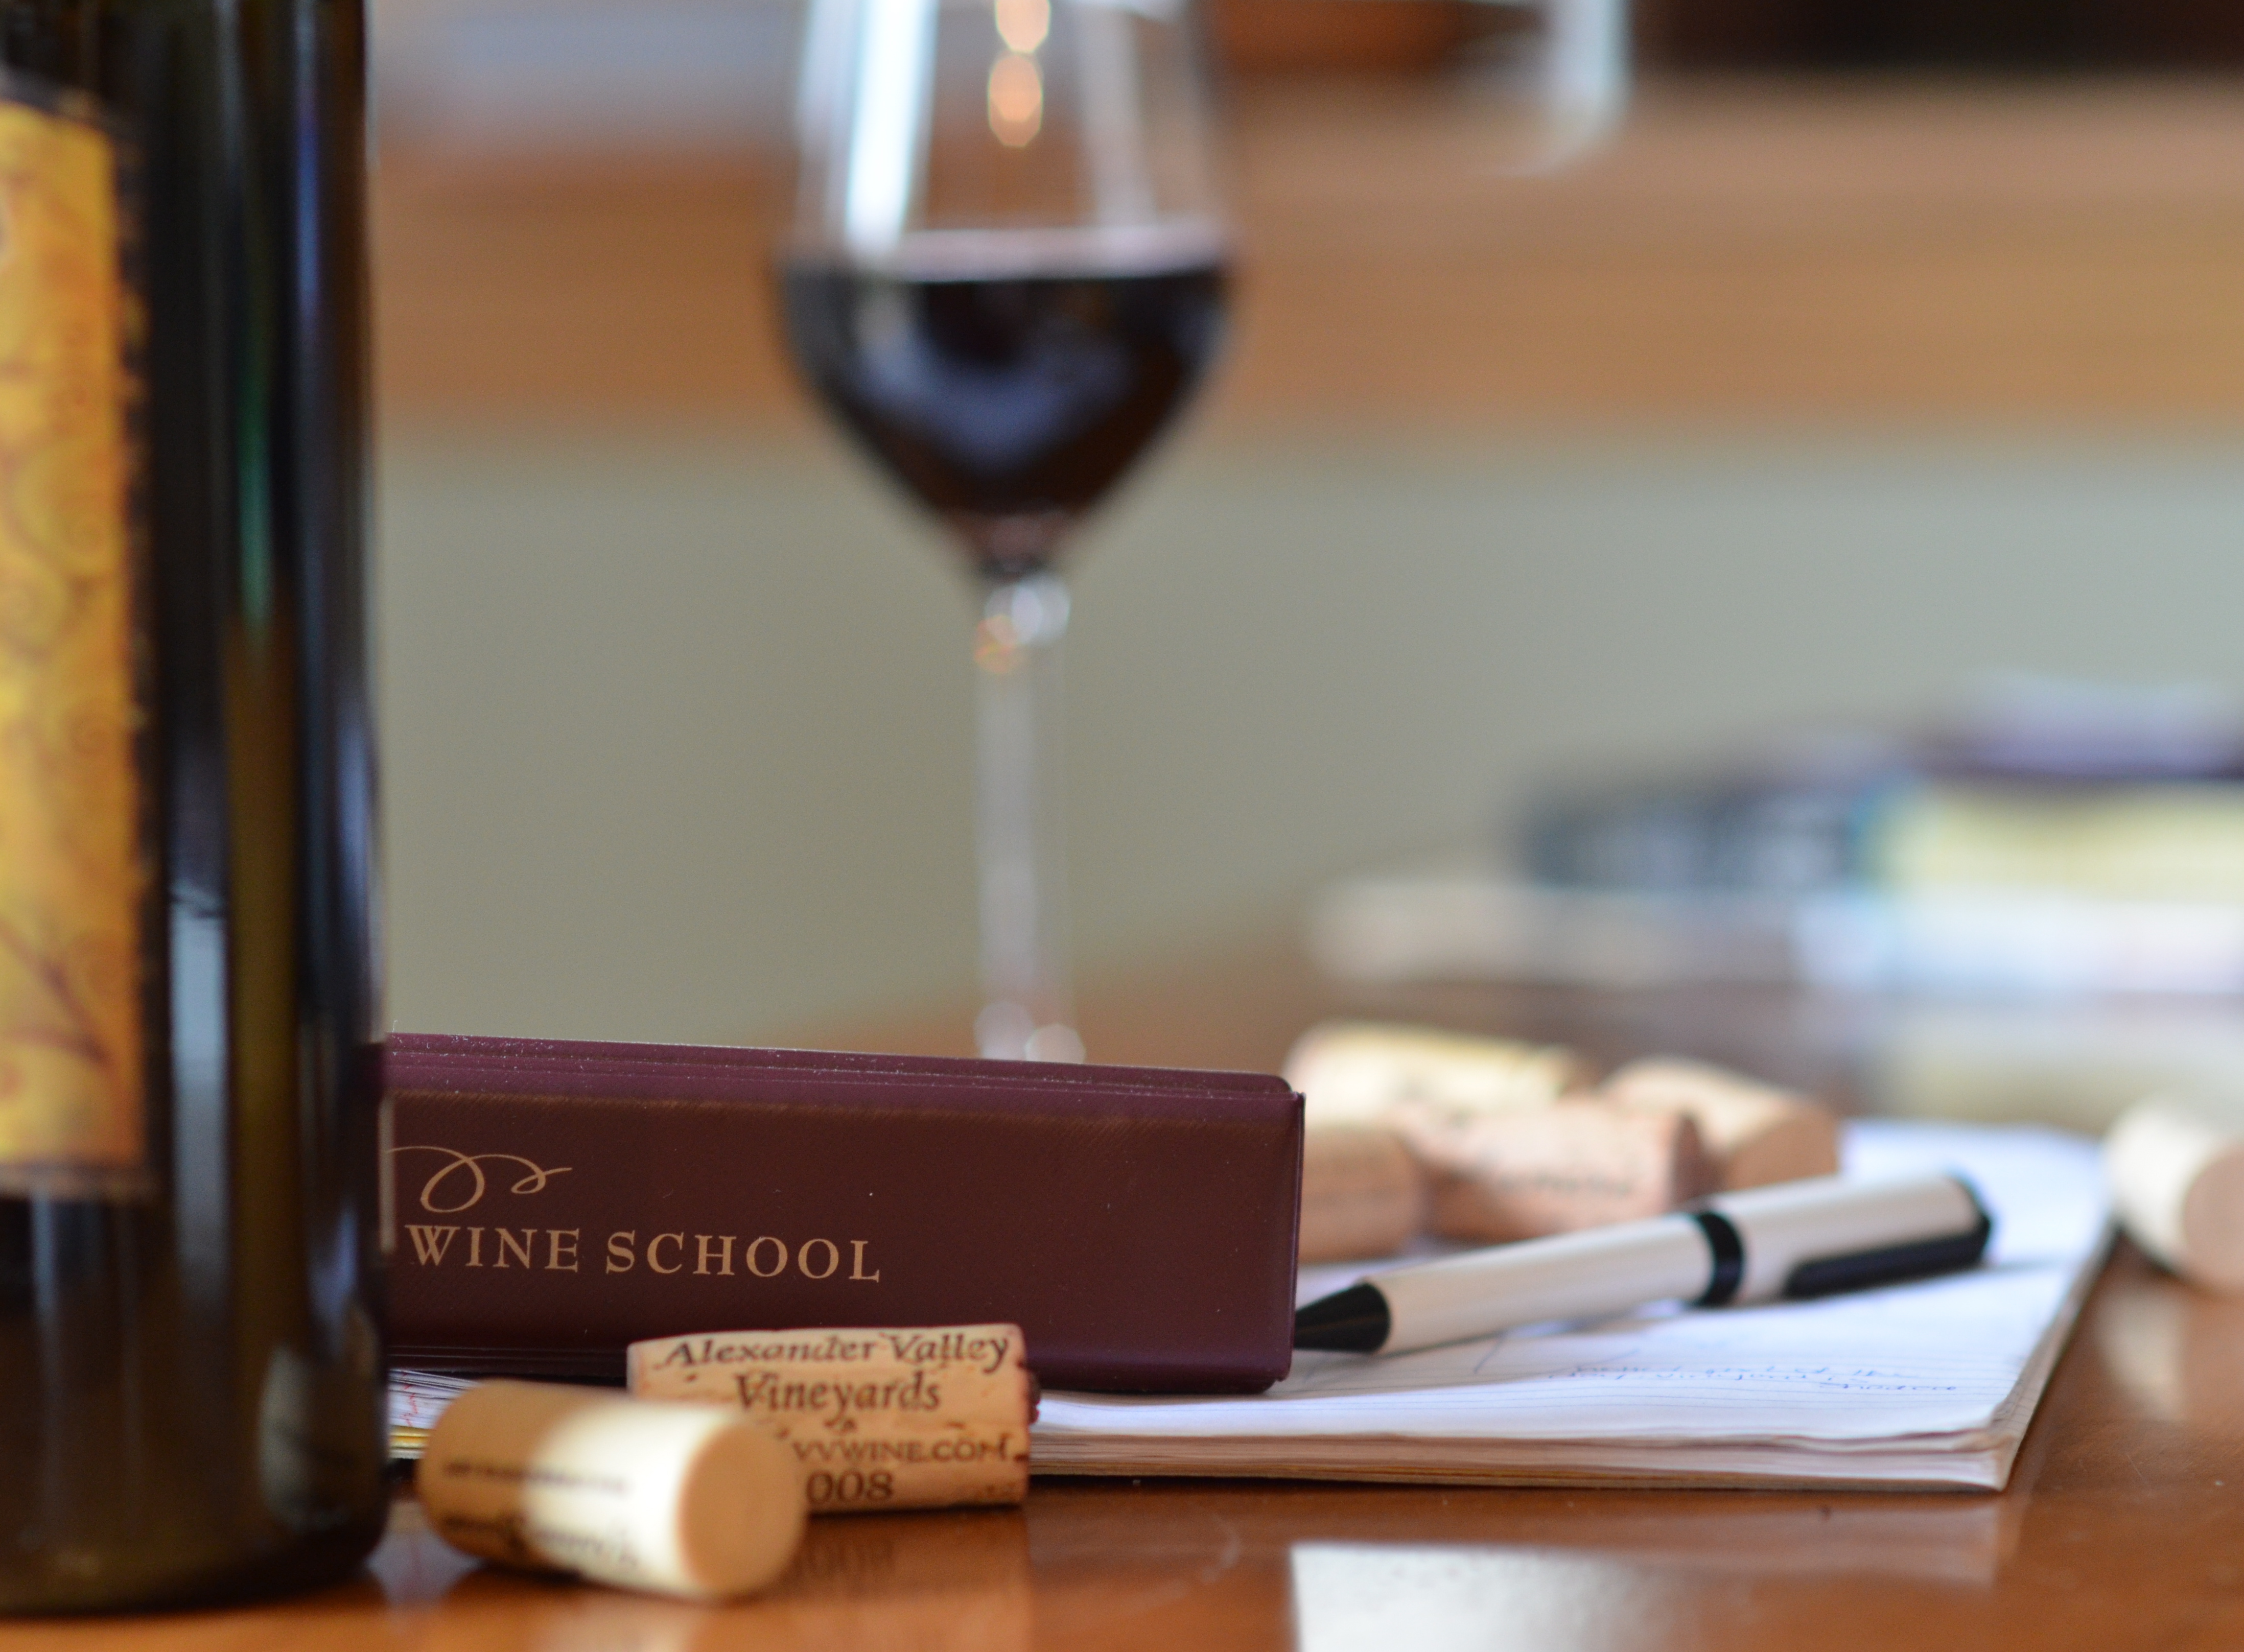
I admit it: I was a little anxious. Yesterday was my exam for the WSET Level 1 Foundation course. I’d studied and paid attention in class, yet occasionally had the feeling in the pit of my stomach that I used to get before I wrote an exam. And it’d been a while since I’d studied for anything. While the course was only three weeks, there was a lot of great information shared not only in the study guide  but in class as well. The wealth of knowledge of instructors Paul Giudici and American Wine School Founder, Marianne Frantz, made the class so interesting and fun; their love and enjoyment of wine was infectious. We studied about the seven noble varieties, styles of wine and how other factors like oak, tannin and acidity affects the wine. We also e xplored the appropriate temperatures for serving wines (including varying temps for white and sweet and sparkling. Not all reds should be served at room temperature). We looked at the importance of correct glassware and why to keep it clean: Dust and detergent residue can adversely affect the taste.

The final night’s class on food and wine pairing  ~ the one  I missed, was in addition to my study notes that, thankfully, I had with me. I learned that: Sweeter and savory dishes can amplify your perception of bitterness, acidity and alcohol burn in your wine. Foods that are higher in acidity and salt can enhance your perception of  the wine’s body, sweetness and fruitiness. Until this class, when I’d choose wine with a dish, I typically thought only of the standard, safe-and-sure pairing principles: White wine with lighter meats and fish; reds with beef and certain pasta dishes.  I’ve since learned that it goes much further than that, in order to get the best taste experience. It’s good to consider the salt-to-acid ratio, not just in the food but also in your wine. For instance, if you’re having a dinner that’s packing some major Chili heat, you’d want to pair it with a lower alcohol white or low-tannin | low-alcohol red. Since Chili heat increases the perception of bitterness, acid and alcohol burn, pairing with a high alcohol wine would be like trying to put out a fire with gasoline. Yowza!

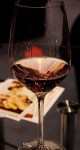
Once I turned the test paper over and read the questions, my nerves fell away. And to celebrate after the exam, I cracked open an ’02 Tempranillo. It was lovely and creamy; deep purple in color and tasted  of rich, ripe raspberry.

I really enjoyed my time at the American Wine School and I hope my schedule will allow me to take the other levels in the WSET Foundation series. If you’re looking for a great, fun way to improve your wine knowledge, I recommend checking out the AWS | WSET Foundation series classes.

Cheers!

©TheWineStudent, 2013

Apt Pupil

I’m so excited! I just registered for the WSET level 1 Foundation Certificate course at the American Wine School here in Cleveland! For three Mondays starting in April, I’ll learn about varietals, factors affecting the style of wine, food and wine pairing and proper wine service. I’ve been wanting to take this course for a long time , and it’ll be great to immerse myself in a methodical look at the world of wine.

This winter has made my brain feel a little like Swiss cheese, so I can’t wait to have a new challenge. And when the main topic is wine, who says learning can’t be fun?

Cheers!

©TheWineStudent, 2013

Of Port and Sherry

I wanted to add a little more about my experience at the Fabulous Food Show on Sunday. I went as I normally do for the wine sampling. I was particularly interested in the seminar on chocolate and wine pairing given by Joe Fink of Fantasy Candies and Marianne Franz of the American Wine School. I wasn’t disappointed.

Joe and Marianne

Joe and Marianne


Four Sips of Yum

Four Sips of Yum


We started with four wines in front of us ranging from a hearty Cameron Hughes Bin 257 Cab Sav, a Warre’s Warrior Special Reserve Port, Warre’s Tawny Port and finally an Osborne PX Sherry. Starting from left to right we paired the Cab with a dark chocolate containing about 72% cocoa. The wine on it’s own was great but pairing it with the  exotic richness of the dark chocolate opened up and new level of deep rich berry and  added a light caramel finish I didn’t expect. While I’d pair chocolate with just about anything, I hadn’t thought of enjoying it with a Cab, which I generally save for a hearty beef dinner on a cold winter’s night. But that’s why I’m the student, and this is a learning experience.

We moved on to a 65% cocoa and paired that with the Special Reserve Port (alright, I tried some of the 72% with this as well, and it was really good). I’m not really a port drinker; in the past I’d found it to be too sweet, almost cloying, so this was a nice way to open my eyes to the world of port and how it could be served. As Marianne noted, sometimes two sweets together can cut down the sweetness you actually experience. But maybe it was the high I got from all the great chocolate that made me feel so accepting. Either way, I was enjoying the combination of the port and chocolate. Of the two, I found the tawny port much richer, complex when paired with the 65% cocoa sample.

Samples of the day ~ Vote for Pedro!

Samples of the Day ~ Vote for Pedro!

As the tasting went on, I became more interested in what the PX in my last glass would taste like. For years, I’ve had the cliched idea that sherry was something you kept in a cupboard and threw into a crock pot when nothing else was available. I was about to be schooled. I found myself intriqued by the color: a rich, golden brown with thick legs when you swirled it. Thick legs, in this case, is a compliment. The bouquet was of a buttery caramel toffee with a hint of a sweet cigar. Yes, cigar. You know when you smell a waft of a sweet tobacco in the air on a warm summer night? It was like that. When I told my friend Terri (who was also sampling) what I tasted, she looked at me like I was crazy…or needed to be cut off. I was neither. We paired this with with a honey-like milk chocolate and it brought out even more depth of the flavours. Once Terri tried the chocolate and sherry  together, she understood what I meant. When I researched a little further, I learned that Pedro Ximenez is actually made from a sweet vinegar made from grapes that have been sun-dried.

We had a great hour of decadence.  The best part was we didn’t get kicked out of class.

Cheers!


Field Trip ~ The Fabulous Food Show in Cleveland


Cheers!

Wine 101 ~ Autumn Harvest

Grapes on the vine ~ ready to be picked

Grapes on the vine ~ ready to be picked

September, to me, always means two things: back to school (whether I’m going or not) and the grape harvest. This year, I am planning to go back to school for the WSET Foundation Course through the American Wine School here in Cleveland. For four weeks, I’ll learn the basics about how to taste, serve, buy and store wine, and get a little introduction to food and wine pairing. It’ll be great knowledge for my trip to California Wine Country in November. More about that in future posts.

So, I’m back to the study hall and today’s subject: harvest and white wine production.

The harvest itself can be done in two ways:

Machine harvest is by far the quickest and most efficient but it is very costly. It can also be a little heavy on the grapes, and depending on the variety, can damage or minimize the flavor. You have to have the correct vineyard setup (your vines must be straight), and it doesn’t lend well to grading. This is a task that can’t be done afterwards; you have to go through the vineyard before the machines ever start up.

Manual harvest allows you to grade or sort as you go, and allows for the removal of low quality and damaged fruit. This, in turn, can maximize potential quality and flavor of the product.

Harvest ~ JustinSullivan/Getty Images

Harvest ~ Justin Sullivan/Getty Images

Once the grapes are harvested, sorted and graded, they go to the ‘crusher’ for stem removal. If stems are left on in the pressing, the wine can become bitter, thereby reducing the quality of the wine. Who wants bitter wine?

Main steps for white wine:

First, it’s a must that I talk about must. Sorry. I know that’s a bad groaner, but I had to.  Must is ~ the juice, seeds, pulp and skins from the grape. All of it (except stems) is thrown into the press.

Juice is extracted from the must and then sent to the fermentation vessel (barrel, tank or concrete lined).

Yeast is added next to convert grape sugars into alcohol. When all the sugars are finally converted, the yeast dies and fermentation stops.

Voila! We have white wine.

The whole process for white wine takes from between 5 ~ 15 days. Smaller batches allow for more finely tuned wine making. A large batch might give you a bigger yield but the result will be a less finely nuanced wine. Sometimes great things can come in smaller packages.

Any winemaker would say that there is so much more that goes into the process than that, and I agree. You have to take into account the weather, how the growing seasons were up to harvest time, canopy management, terroir, among other things. All have  great influence on what ends up in the bottle and eventually in your glass. I’ll get to those elements in greater depth as we go along, but this is a general overview of the basics.

Next study hall, I’ll write more about the influence that yeast in particular has on making or breaking a wine.

Cheers!

Wine Tasting 101

Much of what I’ve learned about wine tasting (real wine tasting; not quickly sucking back a wine skin before a high school dance) I’ve garnered from trips over the years to wineries. The American Wine School here in Cleveland has some great classes to demonstrate how to quaff like a pro.  And once you have the basics, you can impress your friends at dinner with your learned snuffing and swishing. I don’t recommend spitting at dinner ~ it generally horrifies the others.

You’ll want to use a glass that gives you the ability to: swirl it without spilling, and get your nose into fully so you can inhale the aroma. In the coming weeks, I’ll write more about glassware and how it can enhance the wine drinking experience.

Unless you’re going to decant your wine for a few hours, or pour it through a wine aerator, you can: swirl it (on a table or countertop) to move a little oxygen through. This works to breathe new life, if you will, into a wine that’s been stopped up in a bottle for a while and improve the flavor you experience.

Love at First Sight

Once you’ve got your wine in the glass, and you’ve swirled it a few times, you’ll want to look for a few things:

  • Clarity: how clear is the wine?  Is there any sediment floating around or settling to the bottom
    • can be described as: muddy, cloudy, bright.
  • Intensity: is the color pale or dark?
  • Color: this indicates the tone or tint of the wine. you could use words like: ruby, purple, crimson, green, yellow, straw, amber

A good way to really see how it looks is to hold your glass at a slight angle over a white surface. You can use a white table cloth or a light countertop.The white surface helps to illuminate the wine and you can see more detail.

After swirling, tilt your glass and take a look. You’ll be surprised at what you can see.

White surface...for better clarity

White surface... for better clarity

On the Nose

Smelling, or nosing, determines several things about a wine:

  • condition (good or bad)
  • intensity (weak or robust and pronounced)
  • character (how you’d actually describe the fruit itself)
  • How to ‘Nose’ a Wine: I know, it sounds all kinds of wrong but it isn’t. Take one short sniff (to determine condition) and ask yourself: is it good or bad? Short sniffs are actually important because air that moves quickly into the nasal passages intensifies the sense of smell.
Hello Wine!

Hello Wine!

After this, you can take several more deep, gentle sniffs to determine the aroma’s intensity and character. When you swirl and sniff, see how many ways you can describe the aromas. And don’t worry if you’re just starting out, you will be able to tell if a wine just doesn’t smell good to you. Really.

Over the Teeth and Past the Gums: Taste the Wine

Many experts have said that the best way to taste wine is to take a bit in your mouth, swish it back and forth while opening your mouth just slightly as you do it. This is to bring air into the wine to further oxygenate and bring out the flavors. That may be true, but I just end up with it dribbling down my chin. You can try it but  make sure you have a napkin nearby, just in case.

According to the American Wine School, tasting involves seven components:

  • Sweetness ~ how dry or sweet is it? Whether a wine is ‘dry’ means that there is very little left over sugar
  • Acidity ~ this is the sour yin to the sweet yang; described as fresh, crisp, tart, flat.
  • Tannins ~ provide the robust texture and structure (like espresso); hard, soft, bitter, chewy, round.
  • Alcohol ~ is what carries the aroma and heat (and all this time I thought it was a hot flash); low, medium, high.
  • Body ~ how much weight the wine has on your tongue. It’s like a milky consistency of varying degrees, depending on the type of wine; light, medium, full
  • Fruit ~ the grapey, fruity (and non-fruit) flavors (like smoke, cherry, citrus, butter, stone and vinyl).
    • ** The wine aroma wheel is an excellent tool to help you to describe the fruit tastes you’ll experience. I’ll be looking at that in one of my next posts.
  • Finish ~ is the aftertaste and how long it stays in your mouth; usually described as short, medium, long.

So there you have it; some basics on tasting to get you started.

Cheers!

To read more about  wine tasting:  www.jancisrobinson.com